Homemade Cottage Bread
Every time I pull a freshly baked loaf of cottage bread out of the oven, the kitchen fills with a warm, comforting aroma. It brings me right back to my grandmother’s kitchen. There’s something magical about creating homemade bread. It connects us to generations of bakers who’ve kneaded, risen, and baked their love into every slice.
Creating cottage bread at home isn’t just about baking—it’s about crafting a delicious experience. It brings warmth to your kitchen and joy to your family. Whether you’re a beginner baker or a seasoned pro, this simple recipe will guide you through making two delectable loaves of fresh baked bread. Everyone will be asking for seconds.
In just a few hours, you’ll transform simple ingredients into a rustic, protein-rich cottage bread. It’s both nutritious and incredibly satisfying. With minimal prep time and straightforward techniques, you’ll discover how enjoyable and rewarding homemade bread can be.
Table of Contents
Understanding the Magic of Traditional Cottage Bread
Baking artisan bread at home turns your kitchen into a magical place. Cottage bread is a timeless tradition of simple baking. It connects generations through a love of fresh, homemade food.
The history of rustic bread making is rich and deep. Families have shared cottage bread recipes for centuries. This creates a delicious bond between past and present kitchen traditions.
History of Cottage-Style Baking
Cottage bread started as a solution for rural families. They needed nutritious, filling food with few ingredients. Home bakers turned simple ingredients into hearty, flavorful loaves.
- Developed by rural families in European countryside
- Used minimal ingredients available in home kitchens
- Represented resourcefulness and culinary creativity
What Makes Cottage Bread Special
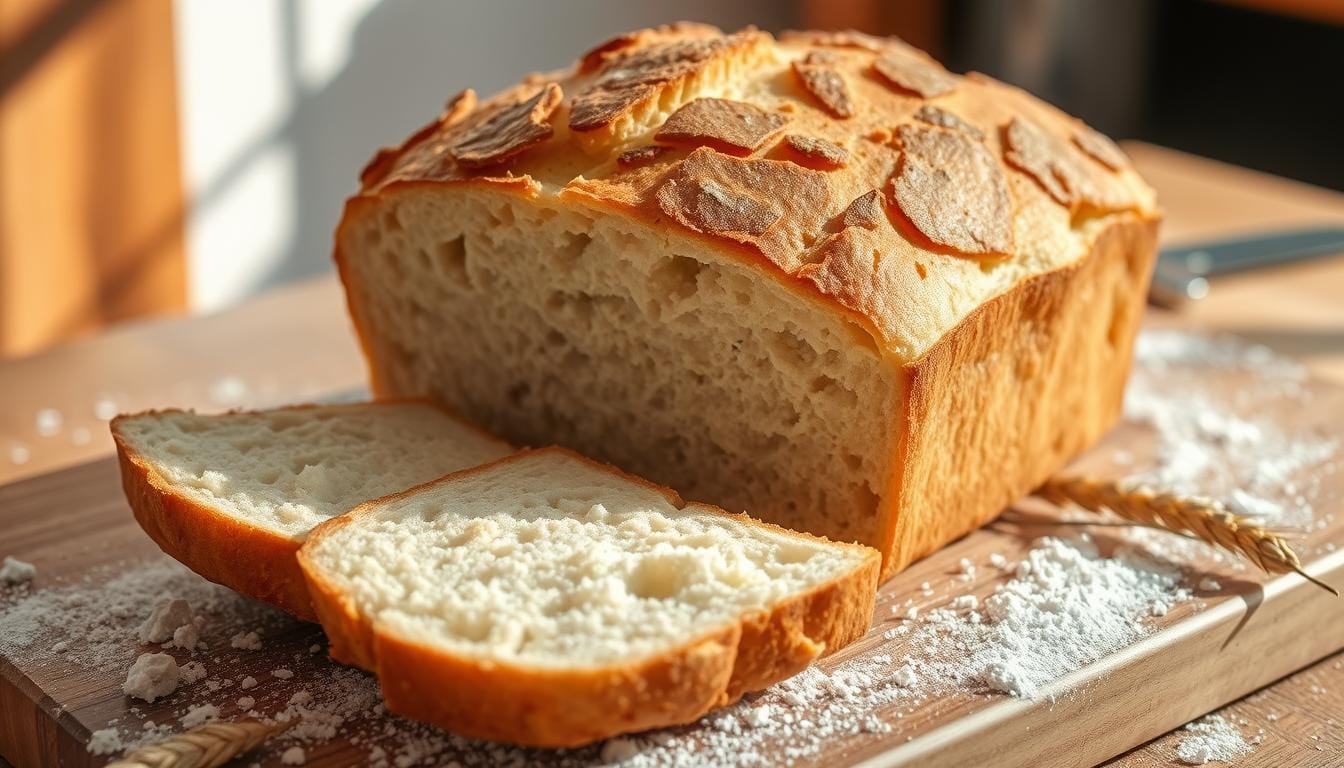
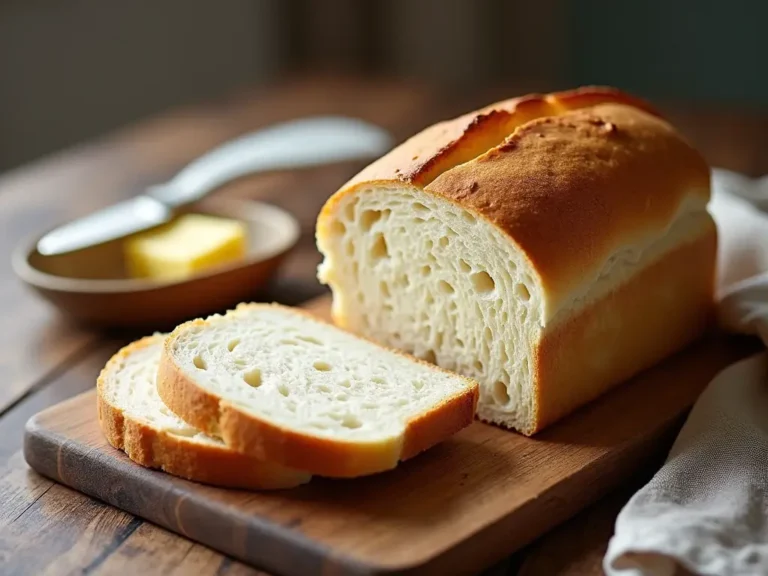
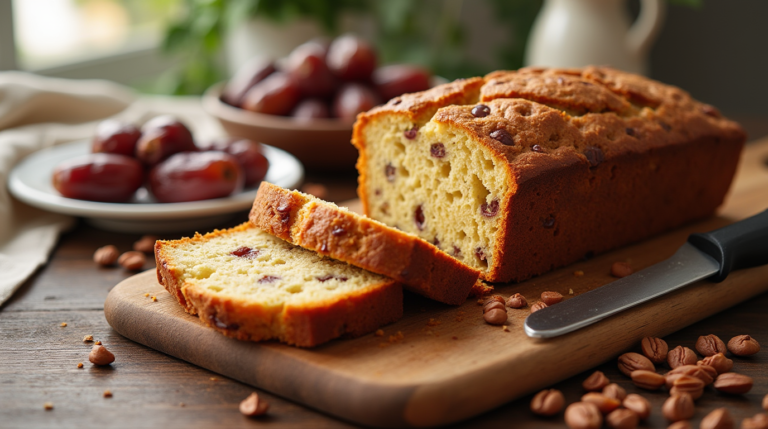
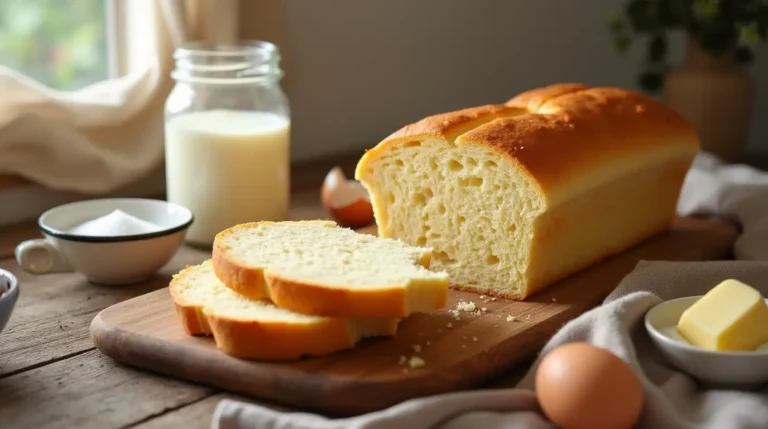
Artisan cottage bread is special because of its unique qualities. It has a soft, tender crumb and a slightly crusty outside. This gives it amazing texture and flavor.
Benefits of Homemade Baking
Making your own cottage bread has many benefits. You choose the ingredients, avoiding preservatives. You also enjoy the calming process of making each loaf by hand.
- Complete ingredient transparency
- Higher nutritional value
- Cost-effective alternative to store-bought bread
- Satisfaction of creating something from scratch
Your homemade rustic bread is more than food. It connects culinary heritage with personal creativity.
Essential Ingredients for Perfect Cottage Bread
Starting a delicious homemade bread recipe means picking the right ingredients. You’re on your way to baking the perfect loaf. Each ingredient plays a key role in making your bread taste amazing.
- All-purpose flour (6 cups)
- Active dry yeast (2 tablespoons)
- Salt (1 tablespoon)
- White granulated sugar (3 tablespoons)
- Butter (2 tablespoons)
- Warm water (2 2/3 cups)
Adding full-fat cottage cheese can make your bread even better. Use brands like Green Valley Organic or Lactaid for the best results.
| Ingredient | Quantity | Nutritional Impact |
|---|---|---|
| Cottage Cheese | 1 cup | 10g protein per slice |
| Eggs | 2-3 | Additional protein |
Measuring your ingredients accurately is key. It ensures your bread turns out perfectly every time. Don’t use fat-free cottage cheese, as it can affect the bread’s texture and taste.
Pro tip: Use room temperature ingredients. It helps your dough rise evenly and improves the bread’s texture.
Required Kitchen Tools and Equipment
Making tasty cottage bread needs the right tools and equipment. Whether you’re new or experienced, the right kitchen tools make baking fun and easy.
Basic Baking Essentials
Every baker needs basic tools to start. These items help you make perfect cottage bread every time:
- Pyrex mixing bowls for combining ingredients
- Measuring cups and spoons for precise ingredient quantities
- Wooden spoon or spatula for mixing
- 9-inch by 5-inch loaf pans
- Cooling rack for proper bread cooling
Optional Tools for Advanced Baking
For better bread, consider these advanced tools:
- Stand mixer with dough hook attachment
- Bread proofing basket
- Baking stone for crispy crusts
- Digital kitchen scale for accurate measurements
Proper Pan Selection
Choosing the right pan is key for perfect cottage bread. Stainless steel and glass loaf pans are great for even heat.
| Pan Material | Heat Distribution | Durability |
|---|---|---|
| Stainless Steel | Excellent | High |
| Glass | Good | Medium |
| Ceramic | Fair | High |
Preparation Steps Before You Begin
Starting with careful planning and precise ingredient management is key to making great bread. Before you start your cottage bread journey, make sure your kitchen is ready for bread dough preparation.
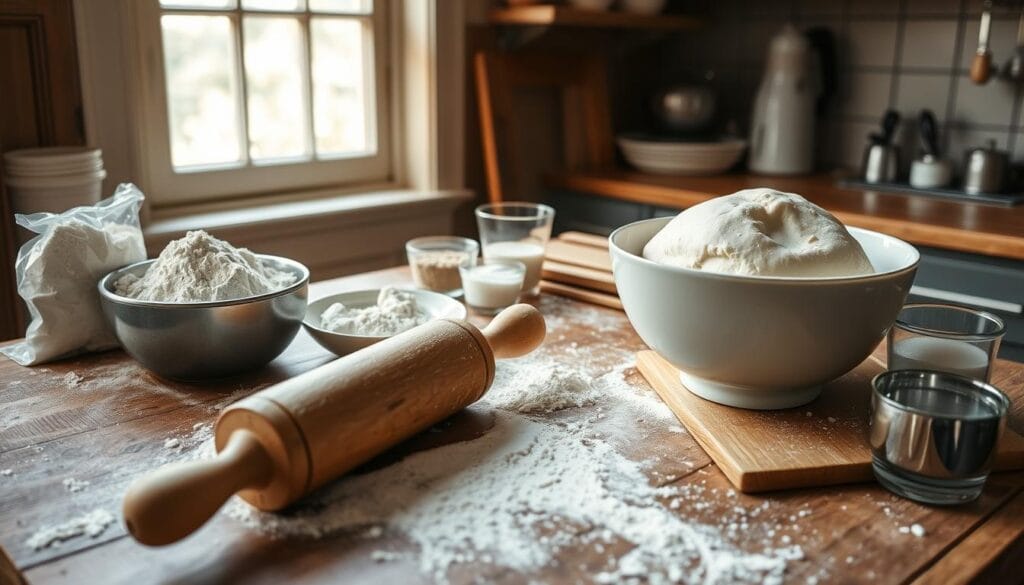
- Clean, spacious countertop for kneading
- Thoroughly sanitized mixing bowls
- Accurate measuring tools
- Pre-measured ingredients at room temperature
To create the perfect environment for your ingredients, start by checking your yeast. Make sure it’s fresh and active. Dissolve it in warm water (about 110°F) and let it sit for 10-15 minutes. If it turns foamy, it’s ready to help your dough rise.
Remember, nutrition matters too. This cottage bread recipe is a good choice because it’s:
| Nutrient | Per Slice |
|---|---|
| Calories | 23 kcal |
| Protein | 2.3g |
| Carbohydrates | 0.3g net carbs |
Pro tip: Have all ingredients measured and ready before starting your bread dough preparation to ensure a smooth baking experience.
Mixing and Kneading Your Cottage Bread Dough
Learning how to knead bread is key to making the perfect cottage bread. This process turns simple ingredients into a soft, tasty loaf. It’s guaranteed to impress both your family and friends.
Proper Mixing Techniques
Start your bread journey by mixing dry ingredients with care. Follow these important steps:
- Dissolve yeast in warm water (110°F/45°C)
- Add sugar to activate the yeast
- Mix wet ingredients separately
- Gradually add dry ingredients
Kneading Methods for Best Results
Kneading is an art that makes the dough elastic and perfect. Use these professional bread kneading techniques:
- Use the heel of your hand to press and push the dough away.
- Fold the dough back towards you
- Rotate the dough a quarter turn
- Repeat for 8-10 minutes
Signs of Well-Developed Dough
Your dough is ready when it shows these signs:
- Smooth and elastic texture
- Slightly tacky but not sticky
- Springs back when gently poked
- Holds its shape without falling apart
Pro tip: If the dough is too sticky, add flour a little at a time. Aim for a soft, pliable dough. It will rise beautifully and result in a delicious loaf of cottage bread.
The Art of Proofing and Rising
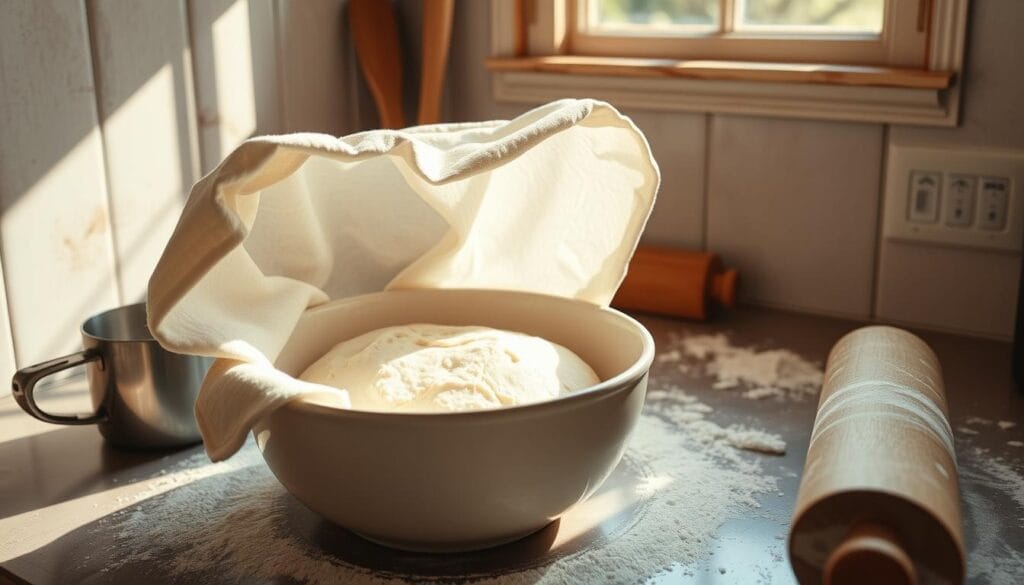
Learning to proof bread is key to making tasty homemade cottage bread. The rising process turns your dough into a light, airy treat. It’s sure to please your taste buds.
Proofing is where yeast magic happens. It turns simple ingredients into a living, growing dough. The dough gets bigger and tastes more complex. The goal is to create the best environment for it to rise.
Optimal Proofing Conditions
- Choose a warm, draft-free area for dough rising
- Maintain consistent temperature between 75-80°F
- Drape a clean kitchen towel or plastic wrap over the dough.
- Use a greased bowl to prevent sticking
Your bread proofing journey has two important rising steps. The first rise makes the dough double in size, usually in 45-60 minutes. Once punched down, allow the dough to rise again before baking.
Signs of Perfect Dough Rising
- Gentle finger test: Press lightly into dough
- Dough should slowly spring back
- Volume should increase by approximately 50-100%
Professional bakers see dough rising as both science and art. Keep an eye on your bread. Soon, you’ll know when it’s perfectly proofed and ready for the oven.
Baking Temperature and Timing Guidelines
Getting your cottage bread just right means paying attention to temperature and time. These details can turn a simple loaf into a delicious homemade treat.
Before baking, knowing the best oven settings is key. Experts say to aim for a temperature of 350°F (175°C). This helps get a golden crust and a soft inside.
Optimal Oven Settings
Your oven’s performance is crucial for baking bread. Here are some important tips:
- Fully preheat the oven before placing the bread inside.
- Position the bread on the middle rack for even baking.
- Avoid opening the oven door frequently during baking.
Visual Cues for Doneness
Knowing when your bread is done is more than just timing. Look for these signs:
- A golden brown top with a rich, even color
- The loaf produces a hollow sound when tapped on the bottom.
- Internal temperature reaches 190°F (88°C)
The usual baking time is 35-45 minutes. But, However, this may vary depending on your recipe and oven.. Always check the internal temperature with a meat thermometer for exact doneness.
Pro tip: If the bread browns too quickly, loosely cover with aluminum foil to prevent excessive darkening.
Cooling and Storage Methods
Learning how to cool and store homemade bread is key to keeping it fresh. The first step is to be patient and use the right method.
When your bread comes out of the oven, don’t cut into it right away. Here are some important cooling tips:
- Allow the bread to rest in the pan for 5 minutes.
- Move it to a wire rack for cooling
- Wait about 1 hour for the best texture
Here are some expert tips for cooling bread:
- Use a wire rack for better air flow
- Cover warm bread with a cloth for a softer crust
- Avoid plastic wrap during the cooling process
When it comes to storing bread, the method you choose is important. Short-term storage means keeping bread in a linen towel at room temperature for 2-3 days. For longer storage, try these methods:
- Wrap in an airtight container
- Store in a cool, dry place
- Freeze for up to 3 months in a sealed plastic bag
Pro tip: Always slice bread just before you’re going to eat it. This keeps it fresh longer and prevents it from getting stale too soon.
Troubleshooting Common Cottage Bread Issues
Bread baking can be tough, even for experts. Knowing common issues helps make perfect cottage bread. It takes patience and watching your dough closely.
Baking bread isn’t always easy. Let’s go over some common issues you might encounter.
Identifying Texture Challenges
Texture issues can ruin your bread. Here are some fixes:
- Dense Bread: Often caused by under-kneading or inactive yeast
- Gummy Interior: Results from cutting bread too quickly or underbaking
- Crumbly Texture: Indicates potential moisture imbalance in your recipe
Conquering Rising Difficulties
Rising issues can stop your bread from turning out right. Here are some tips:
- Check yeast freshness before starting
- Check the water temperature, as water that is too hot or too cold can kill the yeast.
- Create warm proofing environment
- Allow sufficient rising time
“Perfect bread requires practice, patience, and understanding of your ingredients.” – Artisan Baker
Success in bread baking comes from paying attention to details and knowing common problems. Keep practicing!
Creative Variations and Add-ins
Turning basic cottage bread into something special is a fun journey. By trying new ingredients, you can make a simple recipe into a gourmet treat. It’s a way to thrill your taste buds.
Here are some tasty ways to make your cottage bread stand out:
- Herb-Infused Bread: Add fresh rosemary, thyme, or basil for a fragrant twist
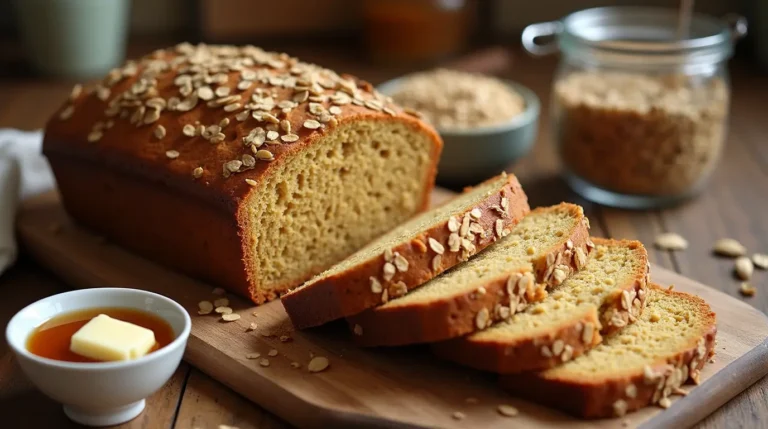
- Nutty Delights: Mix in walnuts, pecans, or almonds for a crunchy bite
- Dried Fruit Sensations: Add raisins, cranberries, or chopped apricots for sweetness
- Cheese Lover’s Dream: Blend cheddar or Parmesan for a rich flavor
For those who love sweet bread, try these ideas:
- Sprinkle 1-2 teaspoons of cinnamon for a warm, sweet taste
- Add chocolate chips for a decadent treat
- Incorporate candied nuts for extra crunch
When adding extras, remember to adjust the liquid to keep the dough right. Too many add-ins can mess with the bread’s texture.
“Creativity in baking is about understanding ingredients and finding harmony in flavors.” – Artisan Baker
Protein lovers can boost their bread by adding cottage cheese. It adds protein without making the bread tough.
| Ingredient Category | Recommended Additions | Quantity Suggestion |
|---|---|---|
| Herbs | Rosemary, Thyme, Basil | 1-2 tablespoons, chopped |
| Nuts | Walnuts, Pecans, Almonds | 1/4 cup, roughly chopped |
| Cheese | Cheddar, Parmesan | 1/2 cup, grated |
Let your creativity shine and turn cottage bread into a masterpiece!
Conclusion
Making your own cottage bread recipe is more than baking. It’s a journey of flavor, nutrition, and skill. This homemade bread is packed with protein, making it a great choice for those watching their diet.
With about 9 grams of protein in each slice, it’s a nutritious addition to any meal.It’s also low in carbs, containing just 4 grams per slice. This makes it perfect for those following a low-carb diet.
While it may take some practice to get it right, the effort is worth it. You can make this bread with just cottage cheese and eggs. This makes it easy for anyone to try, turning your kitchen into a bakery.
As you get better at making bread, you’ll enjoy the process even more. Each loaf is an opportunity to experiment and learn. It’s a journey filled with delicious rewards and the joy of creating something special.
FAQ
How long does it take to make cottage bread?
Can I add different ingredients to my cottage bread?
How do I store homemade cottage bread?
What should I do if my bread doesn’t rise properly?
How can I tell when my cottage bread is fully baked?
Can beginners make cottage bread?
What makes cottage bread different from other bread?
What equipment do I need to make cottage bread?
Did You Try Our Recipe? Share Your Thoughts!
There are no reviews yet. Be the first one to write one.

