Delicious Rustic Sourdough Bread: Bake It at Home
Table of Contents
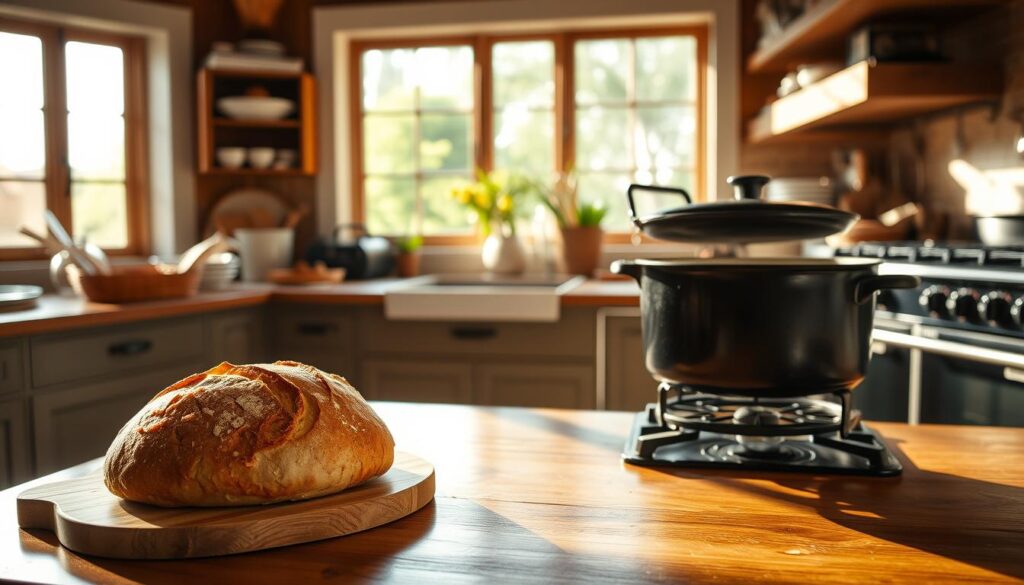
There’s something magical about the smell of homemade sourdough warming your kitchen. I remember the first time I pulled a golden crusty loaf from the oven. The crackle of the crust, the airy crumb, and the tangy aroma filled my apartment. That moment turned me from a skeptical novice into a sourdough enthusiast.
Now, I want to share how you can create that same joy. Rustic sourdough bread isn’t just food; it’s a ritual. And contrary to what you might think, it’s achievable for anyone willing to embrace patience and precision.
Imagine serving fresh baked bread to your family, warm from the oven. The texture is unmatched by store-bought loaves. This recipe uses only four ingredients but delivers more flavor than many commercial brands. The process might seem intimidating, but I’ve broken it into steps that fit even busy schedules.
Think of it as baking with nature’s own yeast—a living sourdough starter. It transforms simple flour and water into something extraordinary.
Key Takeaways
- Rustic sourdough bread uses just 4 ingredients but delivers complex flavor through natural fermentation.
- Homemade sourdough is easier to digest thanks to longer fermentation, making it a healthier choice.
- A 6-quart Dutch oven is essential for achieving that signature crispy crust at home.
- Batch the process: Most of the time involves waiting, not active work.
- Adjustable for schedules: Fermentation can adapt to your day with temperature tweaks.
The Magic of Rustic Sourdough Bread in Your Kitchen
Artisanal bread has won the hearts of bakers everywhere. It’s all thanks to the wild yeast and lactic acid bacteria. They work together for hours to create a tangy taste and a light crumb.
Unlike commercial yeast bread, sourdough’s slow fermentation breaks down gluten. This makes it easier to digest and unlocks nutrients in grains.
My sourdough journey began as a simple experiment. Now, I see my starter as a living ingredient. The process teaches patience—24 hours of rising, hands-on folding, and a hot oven turn flour, water, salt, and time into something amazing.
This bread is more than just food. It connects us to traditions that have lasted for centuries.

- Richer flavors from natural fermentation
- No additives or preservatives
- Flexibility to experiment with grains like rye or spelt
- Cost-effective compared to store-bought artisanal bread
Ready to dive in? Here’s what to expect:
| Key Stats | Details |
|---|---|
| Prep Time | 40 minutes |
| Total Time | 2 days, 1 hour, 22 minutes |
| Servings | 1 loaf |
| Calories per slice | 180 kcal |
This isn’t just baking—it’s a mindful ritual. Every loaf is a story of patience and craft. Whether you’re new or experienced, sourdough rewards your curiosity. Let’s explore how to harness its magic next.
Essential Ingredients for Perfect Homemade Sourdough
Learning to make homemade sourdough starts with knowing the basics. You only need four main ingredients: flour, water, salt, and starter. Each one plays a key role in making your bread.

Flour Varieties and Their Impact on Flavor
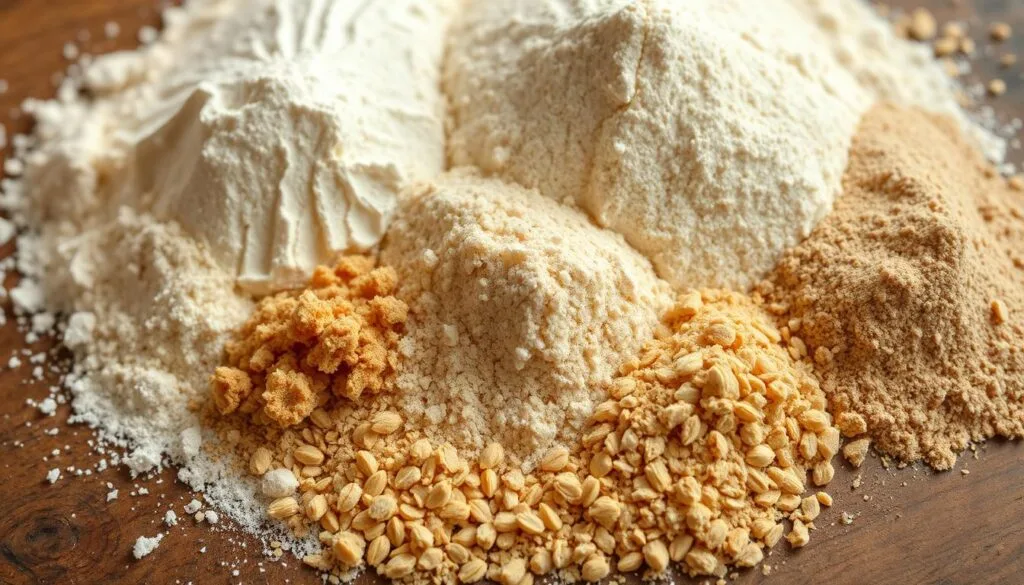
Begin with medium-protein bread flour like King Arthur’s Sir Galahad (12.5% protein) for a strong structure. Mix in 10% whole wheat flour for a nutty flavor. Choose high-quality whole wheat from brands like Bob’s Red Mill for the best taste.
Don’t use low-protein all-purpose flour unless you want a soft crumb.
Water Quality and Temperature Considerations
If your tap water has chlorine, let it sit for 24 hours. This helps remove the chlorine. For the best start, use water at 78°F. A candy thermometer ensures you get the right temperature.
Salt Types for Optimal Taste
Use coarse sea salt like Maldon for even dissolving. But table salt works too if you don’t have sea salt. Remember, too much salt can stop fermentation. Aim for 1.8% of your flour’s weight.
Optional Add-ins for Creative Variations
- Herbs: 1 tbsp fresh rosemary in the final dough
- Fruit: 3/4 cup dried cranberries or raisins
- Nuts: 1/2 cup toasted walnuts or pecans
Try adding 10% of your favorite ingredients to the dough. For example, mix 90g sunflower seeds and 60g dark chocolate into a 900g loaf.
Tools and Equipment You’ll Need
Starting with the right tools makes rustic sourdough bread dreams come true. You don’t need fancy gear to bake like a pro. Basic tools like a digital scale or a cast-iron Dutch oven are key. We’ll cover what you really need, what’s nice to have, and smart ways to work around limited tools.
Basic Essential Tools for Beginners
Start with these must-haves to learn the basics:
- Digital kitchen scale: Measures flour and water for precise hydration levels (aim for 68–75% hydration).
- Cast-iron Dutch oven: Traps steam during baking, mimicking professional ovens.
- Plastic dough scraper: 6″ or 8″ sizes for dividing and shaping dough without sticking.
- Wide mixing bowl: Clear-sided bowls let you monitor fermentation progress.
Advanced Equipment for Serious Bakers
For more advanced baking, consider tools like the Superbaking Banneton Basket Kit. Its 14″x15″ rectangular tub is great for large batches. A scoring knife ensures clean cuts for oven spring. A dough whisk prevents overmixing, and a food-grade airtight container stores flour properly. A digital thermometer helps keep the right temperature for proofing.
Makeshift Alternatives When You’re in a Pinch
No banneton? Use a lined colander for proofing. Swap a bench scraper with a pizza wheel. Even a pyrex dish with a lid can act as a makeshift Dutch oven. Being creative keeps your rustic sourdough bread dreams alive without spending a lot.
Creating and Maintaining Your Wild Yeast Starter
At the heart of every wild yeast bread is a sourdough starter. This starter, born from natural fermentation, needs care to thrive. Here’s how to nurture yours.
Begin by mixing equal parts flour and water daily, adjusting as needed. Here’s the process:
- Mix 20g flour + 20g water on Day 1. Store in a glass jar at 70°F (21°C).
- Double the flour and water each day for 5 days (e.g., 40g each on Day 2).
- Check for bubbles, a tangy smell, or a 50% volume increase before proceeding.
| Day | Flour (g) | Water (g) | Notes |
|---|---|---|---|
| 1-3 | 6g bread + 6g rye | 16g | Small feedings to kickstart microbial activity |
| 4-5 | 12g bread + 12g rye | 32g | Increased ratios to boost activity |
A healthy starter doubles in 5–8 hours at 29–31°C (84–86°F). Use a rubber band to track growth. If liquid forms on top (hooch), feed immediately. Test readiness with the float test: a ripe starter will float in water.
For storage, refrigerate starters and feed weekly. Active bakers should feed daily. Discard excess to keep your starter manageable. With patience and these steps, your starter becomes a kitchen staple for perfect natural fermentation in every loaf.
My Foolproof Method for Rustic Sourdough Bread Dough
Mastering homemade sourdough starts with the dough. Here’s how I ensure consistent results every time:
Mixing Techniques for Perfect Texture
Start by mixing flour, water, and starter until a shaggy dough forms. I prefer hand-mixing for better control. Use a dough whisk for 30 seconds, then knead briefly with your hands.
Avoid overworking—this step should take no more than 5 minutes. Pro tip: Aim for 65-70% hydration for rustic sourdough bread’s signature crumb.
The Autolyse Method Explained
After mixing, let the dough rest uncovered for 30 minutes. This autolyse step allows gluten strands to form naturally. It cuts kneading time by 50%.
Here’s how it works:
- Mix only flour and water first (no salt or starter)
- Cover and rest 20-40 minutes at room temperature
- Resume mixing with starter and salt after rest
Incorporating the Starter at Peak Activity
Only use your starter when it’s doubled in size and bubbly. For my 4.97/5-rated recipe, I add 190g active starter at 28% baker’s percentage. Keep dough between 67-73°F during mixing.
If your kitchen’s warm, refrigerate the dough briefly to slow fermentation.
Developing Gluten Through Folding
Forget traditional kneading—use gentle folds instead. Every 30 minutes for 3 hours, perform 4 stretch-and-folds: lift dough edges and fold over itself. This builds structure without overworking.
After 4 turns, the dough should pass the windowpane test without tearing.
My method’s magic lies in timing: 18-hour fridge proofing gives complex flavor, while precise folding ensures the perfect crumb. Remember, patience beats force—rustic sourdough bread thrives on gentle handling and mindful observation.
The Art of Natural Fermentation
Natural fermentation brings wild yeast bread to life. It starts with trusting the wild yeast in your starter. This magic turns simple dough into a flavor-packed masterpiece, all without commercial yeast.
I keep my dough at 70-75°F during bulk fermentation. Cooler rooms slow it down, while warmth speeds it up. A 10-hour rise at 70°F gives deeper flavor than a rushed 6-hour one. Here’s what to watch for:
- Fold the dough every 30 minutes to strengthen gluten
- Check for a 50% volume increase after 4 hours
- Look for a bubbly, slightly tangy aroma
Overfermentation happens when the dough collapses inward. My rule: stop when it holds an indentation but springs back slowly. This ensures the wild yeast bread stays light. I’ve baked loaves at 8, 12, and even 18 hours with delicious results—each timing alters texture subtly.
My go-to fix for slow rises? A proofing basket near a radiator or wrapped in a towel. No need for fancy equipment! Natural fermentation thrives on patience. When the dough passes the poke test and smells like sweet vinegar, it’s ready to shape. This phase builds the airy crumb that defines wild yeast bread, so don’t rush it.
Shaping Your Artisanal Sourdough for That Perfect Look
Perfect shaping turns your dough into beautiful loaves. Every fold and score line adds texture and that crusty sourdough look. Let’s explore three steps to master this craft easily.
Creating Surface Tension for Beautiful Crust
Surface tension is like magic. It traps gases in the dough, making a crusty sourdough shell. Here’s how to do it:
- Wet your hands lightly to avoid sticking.
- Pull the dough’s edges up and in to tighten the skin.
- Rotate the dough 45 degrees each time until it’s smooth.
A well-shaped boule keeps its round form, showing it’s ready for the next step.
Signature Scoring Patterns to Try
Scoring is more than just for looks. It helps the dough expand. Try these patterns for better crust:
- Single slash: A bold line for rustic artisanal bread like a miche.
- Three parallel lines: Creates dramatic lift in batards.
- Bouquet pattern: Crosshatch cuts for baguettes.
Use a lame or razor for angled cuts at 45 degrees. This makes deeper cracks.
Using Bannetons and Proofing Baskets
Bannetons shape dough into classic forms. Use rice flour to prevent sticking. For a boule, press dough into the basket seam-side down. Make sure it fills the mold completely.
If you don’t have a banneton, use a lined bowl or a flour-dusted tea towel. Let the dough proof until it doubles. Then bake for that golden crackle.
Practice these steps every week. Soon, your crusty sourdough will be as good as your favorite bakery’s. The secret? Patience. Each fold and score teaches the dough how to rise and crackle perfectly.
Baking Techniques for a Crusty, Golden Loaf
To make a crusty sourdough, follow key steps for that golden look. First, preheat your oven with a Dutch oven inside for 30 minutes. This creates a steam trap, just like in professional bakeries, for a crackling crust. Cast iron skillets or combo cookers are great for home bakers too.
- Score the dough with sharp scissors or a lame to let steam escape, creating patterns like a # symbol.
- Quickly place the dough into the preheated Dutch oven, spray the oven with water for extra steam, and cover it. Bake at 450°F (230°C) for 25 minutes.
- Remove the lid to expose the loaf for 15–20 more minutes, adjusting heat to 425°F (220°C) if needed. The crust should deepen to a mahogany hue.
Timing is crucial: Use a thermometer to check the internal temperature. A reading of 210°F (99°C) means your fresh baked bread is done. Let it cool completely on a rack to avoid sogginess. For softer crusts, bake 5 minutes less; for crunchier, bake 10 minutes more without the lid.
Pro tip: Steam is essential for that signature crust. Adjust your method based on your oven’s quirks. You might need a baking stone or more water sprays. The result? A crusty sourdough masterpiece, ready to serve once it’s cool enough.
Troubleshooting Common Sourdough Challenges
Even the most seasoned bakers face challenges with homemade sourdough. These tips help turn setbacks into learning moments. They keep traditional baking traditions alive with patience and practice.
Why Your Bread Isn’t Rising Properly
If your dough stays flat, check your starter first. An active starter should double in 4–6 hours. If it’s sluggish, feed it more frequently or adjust its hydration.
Stiff starters (≤65% hydration) need warmer temps (76–78°F/24–25°C). Cold kitchen? Move dough near a radiator or use a proofing box.
Fixing Dense or Gummy Bread
Dense crumb often means underbaking. Check internal temp—aim for 205–210°F (96–99°C). Overproofed dough collapses during baking, creating gummy layers.
Test dough by poking it; if it springs back slowly, it’s ready. Adjust bulk fermentation time if your kitchen is below 70°F (21°C).
Managing Overly Sour Flavors
Flavor imbalance? Adjust fermentation. Lower temps (65–68°F/18–20°C) slow fermentation, reducing acidity. Shorten bulk time or use a rye flour boost (like Giusto’s) to mellow tang.
Overly ripe starters can be diluted with fresh flour and water.
When Your Crust Is Too Hard or Too Soft
| Issue | Fix |
|---|---|
| Crust Too Hard | Reduce oven temp to 425°F (218°C), bake with less steam, or brush with melted butter post-bake |
| Crust Too Soft | Preheat Dutch ovens longer, add ice cubes for steam, or bake on a preheated stone |
Storage matters too! Cool bread on a rack to prevent sogginess. For soft crusts, wrap loosely in linen cloth. Every challenge is a step closer to mastering your craft—keep experimenting with traditional baking techniques!
Conclusion: Your Journey to Mastering Rustic Sourdough Awaits
I’ve seen many bakers turn simple ingredients into delicious bread. Each loaf has its own story. Rustic sourdough bread is more than a recipe; it’s a mix of tradition and creativity.
Every time you fold the dough or watch it rise, you learn. Even in San Francisco, where chefs are always trying new things, making your own bread is special.
Blue House Bakery has been around for 13 years, starting just like you. They make amazing rye and ciabatta. Your kitchen can be your first place to learn. Don’t be afraid to make mistakes; they teach you a lot.
The foggy mornings in the Bay Area inspire bakers. So can your own kitchen. Try new things, like adding different ingredients or changing how much water you use. Let your starter guide you.
Traditional baking connects us to our past, but you’re shaping its future. When you cut into your first loaf, you’ll feel the joy of making something yourself. This craft is about enjoying the journey, not just the end result.
The next time you mix dough, remember: every bit of your rustic sourdough bread is full of possibilities. Your journey to making amazing bread starts now. What will your next loaf show you?
FAQ
What is rustic sourdough bread?
How do I create a wild yeast starter?
How long does sourdough fermentation take?
Can I make sourdough bread with whole wheat flour?
What types of salt should I use in sourdough baking?
How can I enhance the flavor of my sourdough?
What are some common troubleshooting tips for sourdough baking?
Do I need special equipment to bake sourdough bread?
How do I know when my sourdough bread is fully baked?
Is making sourdough bread cost-effective compared to buying from a bakery?
Did You Try Our Recipe? Share Your Thoughts!
There are no reviews yet. Be the first one to write one.


